The 3D Model Creation Pipeline: Floor Plan to Walkable Tour
"AI generates a 3D room" describes an outcome, not a process — and the process is where the actual decisions get made. A floor plan doesn't become a photoreal, walkable tour in one step. It passes through a sequence of named stages, each one handing a specific artifact to the next, and understanding that sequence is what tells you where a result can go wrong, and where you can step in and change it.
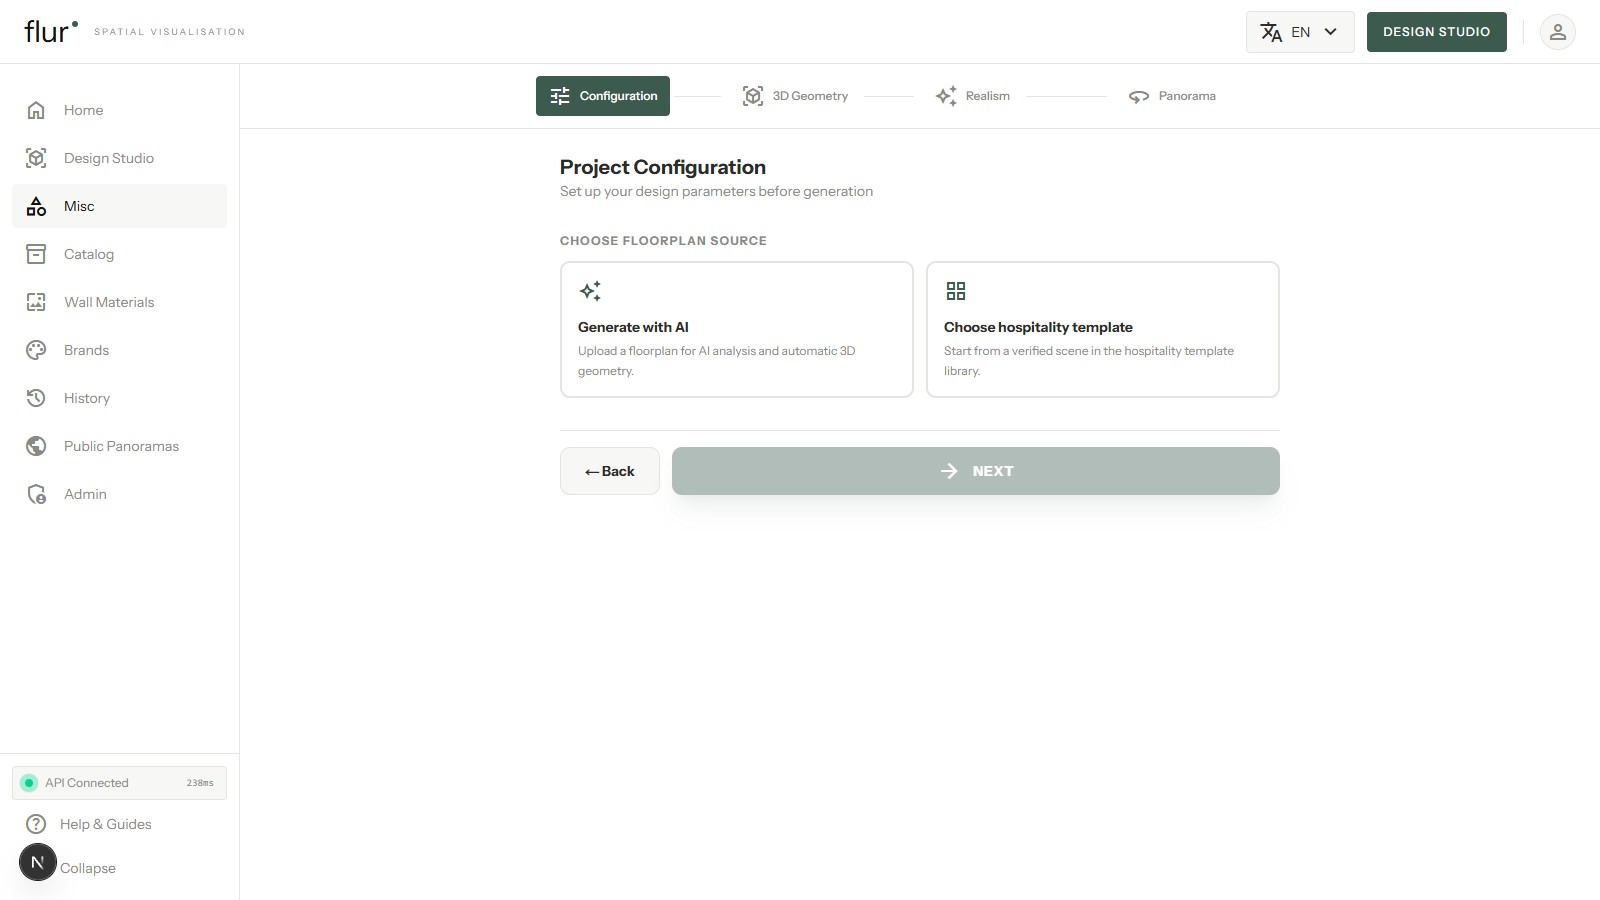
Flur's studio wizard itself has three named steps — Configuration → 3D Geometry → Panorama. What follows below breaks the middle step into what actually happens inside it: an agentic build, a realism pass you trigger as an action, and — before you ever get to Panorama — your own chance to edit the finished room.
Stage 1: plan image → agentic build
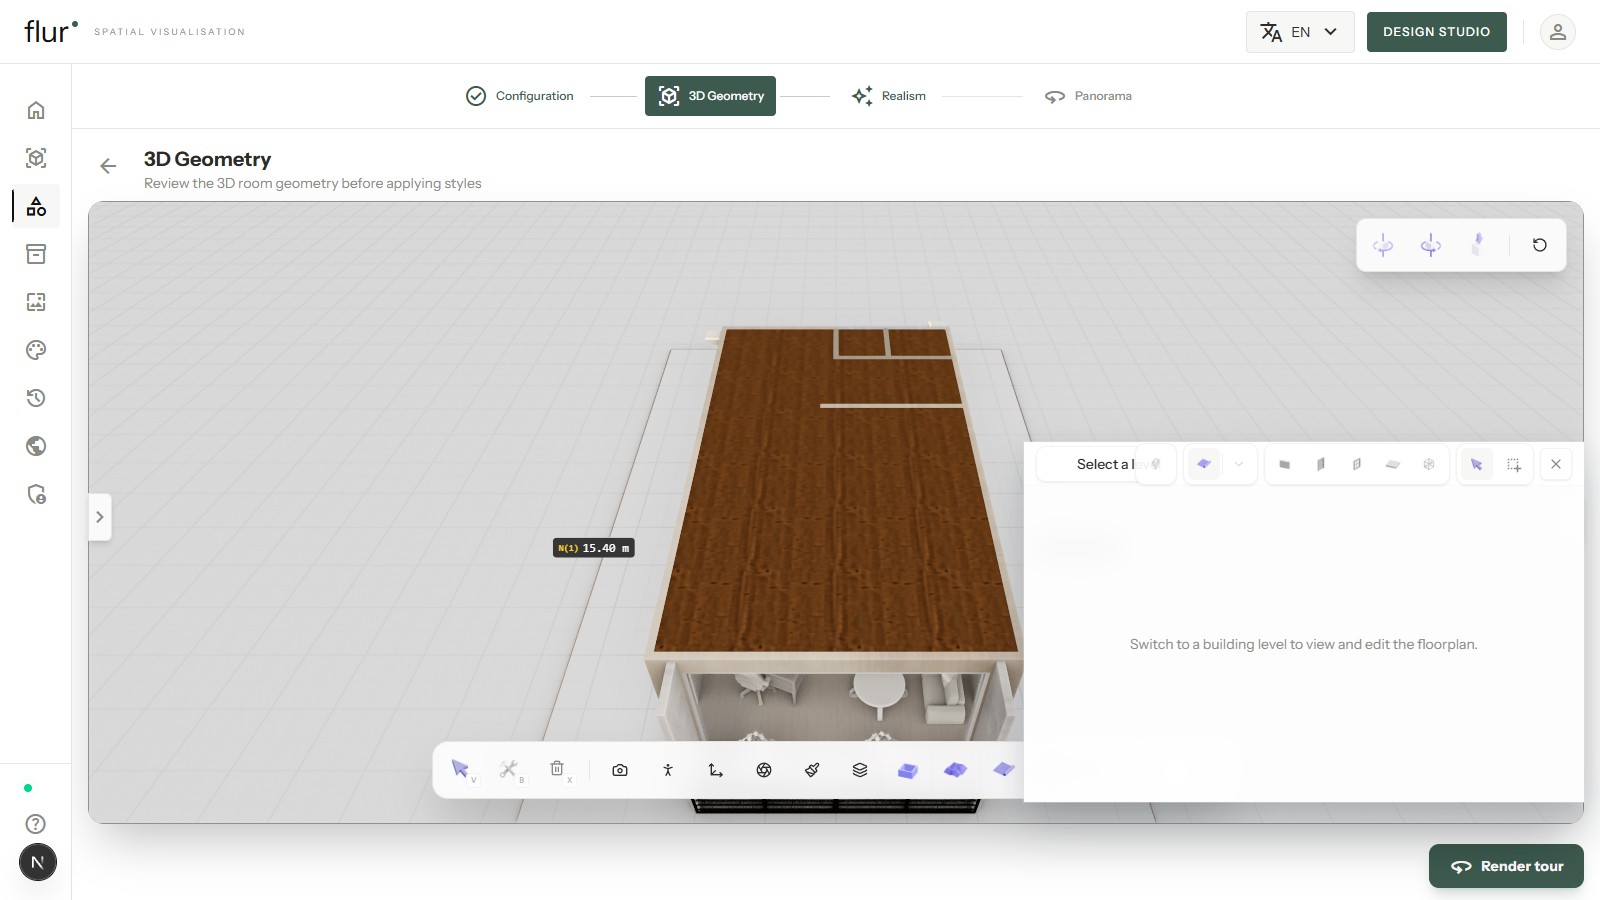
The pipeline starts with a floor plan image, uploaded in the Configuration step. From there, an agentic AI harness reads the plan and constructs the room live, in the 3D Geometry step, by driving the same editor tools you'd use yourself: it draws walls and openings to the actual dimensions on the drawing first, then places furniture from Flur's real catalog room by room. You watch it happen in the 3D view rather than waiting on a spinner — this is a build, not a black-box render.
This is also the stage most exposed to input quality. A clean, clearly-dimensioned plan builds cleanly; a low-resolution scan or an ambiguous drawing produces a room worth reviewing before moving on. That's exactly why the build is inspectable as it happens, not just once it's finished.
Stage 2: agentic build → scene graph
Because the build runs through editor tools instead of generating a flat model, the result is a scene graph: every wall, every piece of furniture is still a distinct, addressable object. That distinction matters more than it sounds like it should. A scene graph is what lets you ask for "move the sofa" and get a scene edit instead of a rebuild. Collapse the same room into a single exported mesh and that request becomes a re-model from scratch, because there's no longer a "sofa" for anything to act on.
Stage 3: scene graph → realism pass
Correct geometry with catalog furniture in the right places is a working room, not necessarily a finished-looking one. Realism is an action you trigger on top of it, still inside the 3D Geometry step: generic catalog pieces get swapped for higher-fidelity furniture, walls and floors receive zone-aware materials — the right finish in a bathroom, a different one in a bedroom — and lighting and small decor fill in the gaps a purely functional layout leaves. This changes how the room looks without touching where anything is; the geometry underneath stays exactly as placed in stage 1.
Stage 4: your own edits
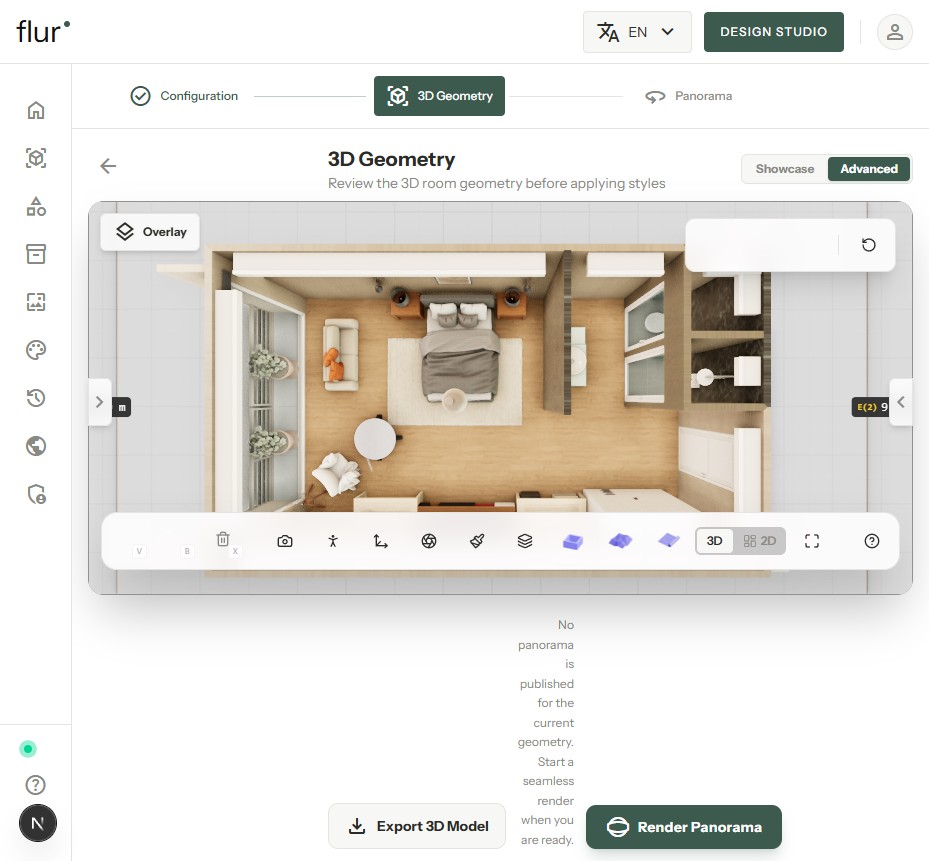
Before you render anything, the room is yours to change. Room dimensions, individual furniture pieces, wall placement — all still editable, in either of two modes: Showcase mode, a guided, buyer-facing view for adjusting the finished room without touching the full editor, or Advanced mode, the complete editor for anyone who wants direct control. Nothing about the pipeline forces you to accept the agentic build or the realism pass as final — both are a starting point you can still change by hand.
Stage 5: styled scene → panorama render → published tour
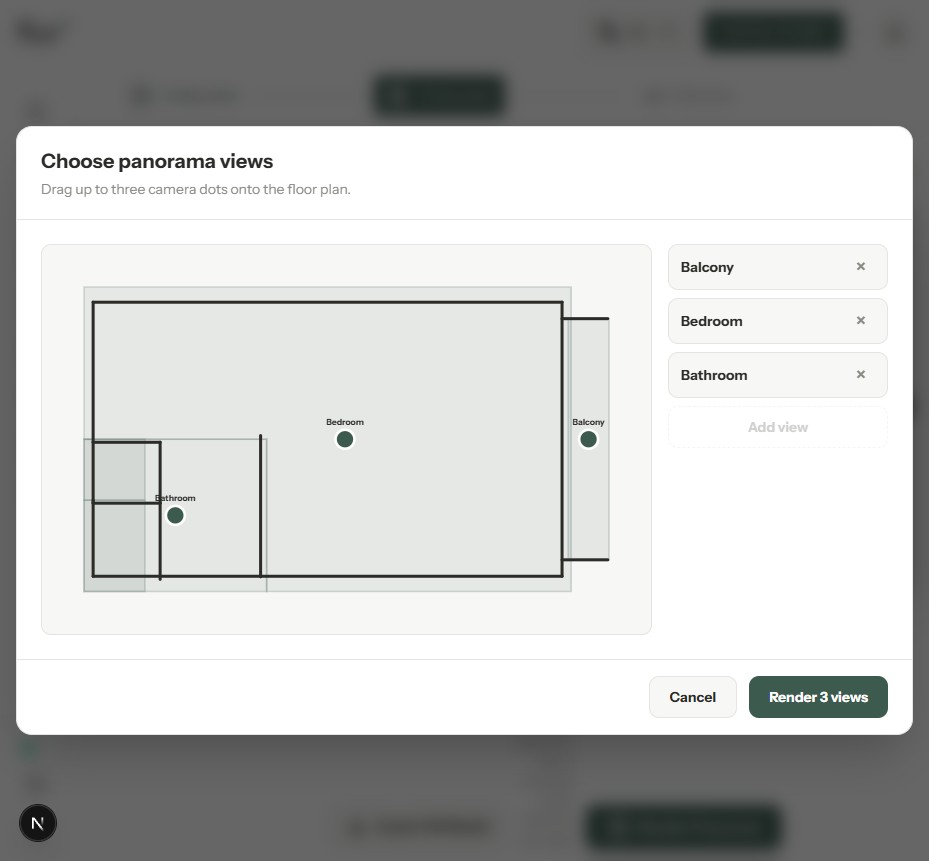
The final stage renders the finished scene from chosen viewpoints as true equirectangular panoramas through Blender running Cycles on GPU — path-traced, not a screenshot — and publishes them as a walkable tour. This is the only stage that produces a flat image at all, and even then, it's a rendered view of the scene, not a replacement for it; the scene graph underneath the tour stays editable, so a later change means re-rendering an updated view, not starting over.
Why the scene never collapses into a mesh
Every stage above hands off a structured artifact to the next — geometry, then a scene graph, then a styled scene graph — right up until the final render, which is a view of the scene rather than the scene itself. That's a deliberate constraint, not an accident of implementation. The moment any stage flattens the room into a single mesh or a single image, every stage after it loses the ability to address individual pieces. "Change the headboard" stops being a furniture-catalog swap and becomes a request to redo the affected part of the model by hand.
Keeping the pipeline as artifact hand-offs instead of one opaque generation step also means each stage is independently reviewable. You can catch a misread wall while the agentic build is still running, catch a wrong material choice at the realism stage before it gets rendered, and catch a bad camera angle at the panorama stage before it gets published — rather than discovering any of it only in a finished render.
It also means the stages compose in a specific order for a reason: geometry has to be correct before furniture placement can trust it, furniture has to be placed before a realism pass has anything to style, and the scene has to be finished before a render is worth publishing. Skipping ahead — styling a room before its geometry is verified, say — just moves the same correction downstream, where it costs more to fix because more work now depends on the mistake.
Where a human intervenes at each stage
- Agentic build — review wall and opening placement against the source plan while the build runs; this is the cheapest point to correct a misread.
- Realism — adjust material or furniture choices the automated pass made.
- Your own edits — resize the room, swap furniture, or move walls yourself, in Showcase or Advanced mode, before anything gets rendered.
- Panorama — pick which viewpoints get captured and published.
None of these require restarting the pipeline from the beginning — each is a targeted edit to the artifact that stage produced.
Getting started
If you're trying to understand what actually happens between "upload a plan" and "get a tour," this is the full sequence. For the entry-level version of stage 1 — what a floor plan encodes and what a 3D room needs beyond it — see how to turn a 2D floor plan into a 3D room. For a deeper look at stage 5's projection format, see equirectangular panorama capture, explained. And for what specifically separates a "correct" room from a "finished-looking" one at stage 3, see what makes a 3D interior stop looking like a game.
See how it works or request early access to run your own floor plan through the pipeline.