What Makes a 3D Interior Stop Looking Like a Game
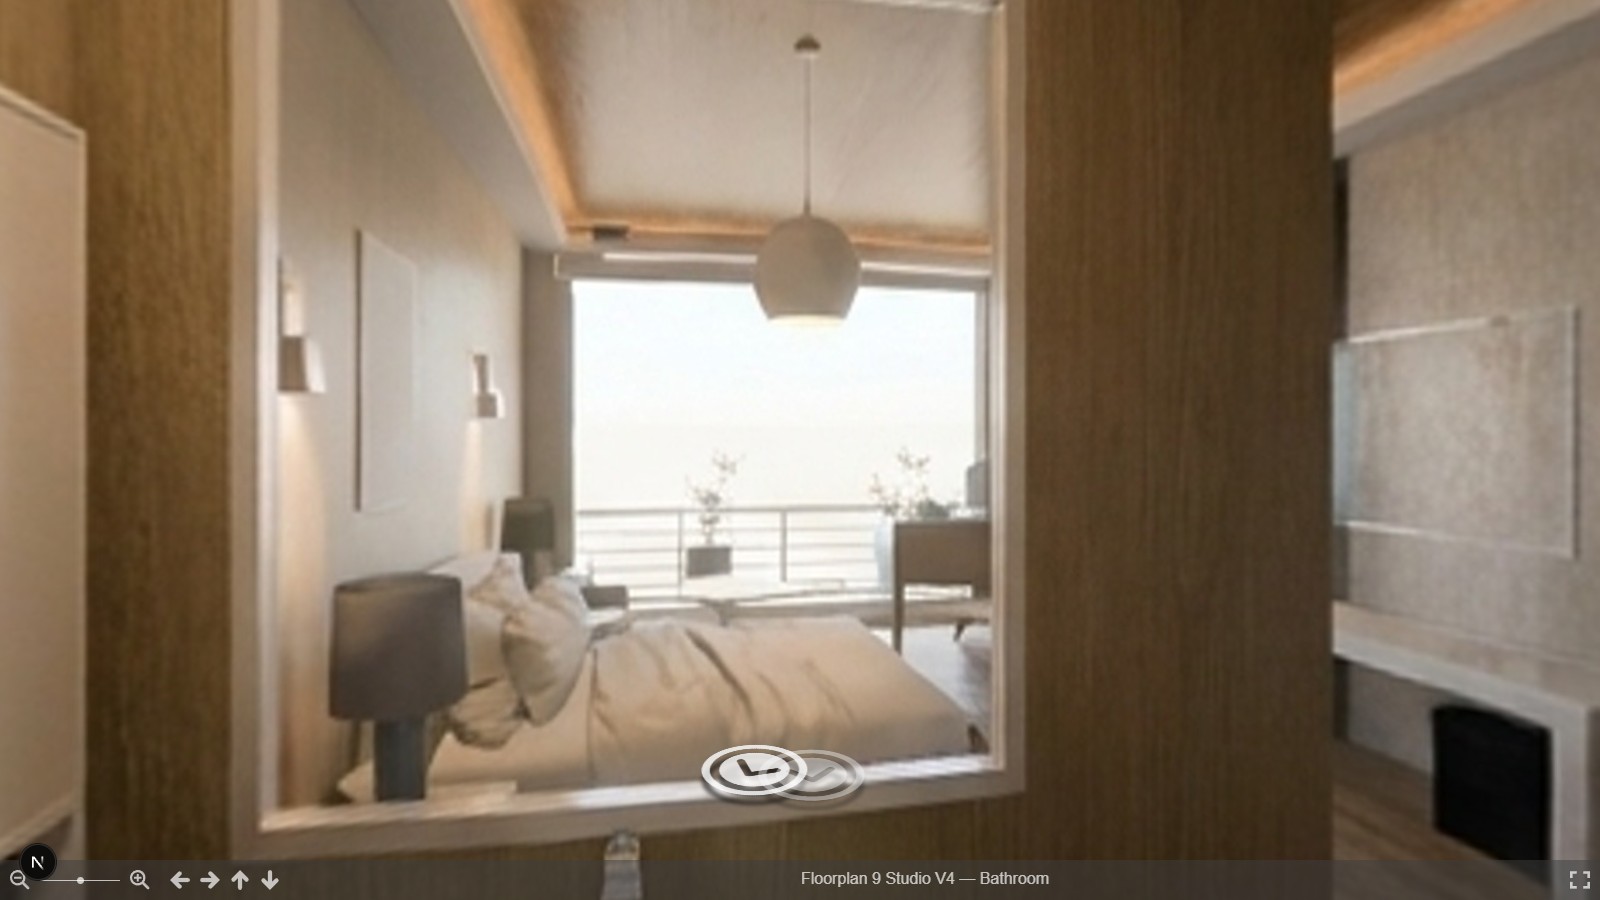
A 3D room can have perfectly correct geometry — every wall, every piece of furniture in the right place — and still look unmistakably like a video game rather than a real photo. That gap has specific, nameable causes, and every one of them is a materials or lighting problem, not a modeling one.
PBR channels and what each one is actually doing
Physically-based rendering describes a surface with several separate channels, and getting a material right means getting all of them right, not just the obvious one. Albedo is base color, with lighting removed — the color a surface would be under pure white light. Roughness controls how sharp or diffuse a reflection is, from mirror-sharp to matte. Normal maps fake small-scale surface detail — grain, weave, texture — without adding actual geometry. Ambient occlusion darkens creases and contact points where light naturally has a harder time reaching. Skip or flatten any one of these and the surface looks subtly wrong even if the other three are correct — the channels aren't redundant with each other, each one is answering a different visual question about the same surface.
The specific mistakes that read as "CG"
Uniform roughness is the single most common giveaway. Real surfaces vary — a painted wall has slightly different sheen across its surface, a wood floor isn't equally glossy everywhere it's been walked on — and a material with one roughness value across its entire extent reads as synthetic regardless of how good the lighting is.
Missing bevels are almost as common. Real-world edges — a tabletop's corner, a door frame, a piece of furniture's trim — are never perfectly sharp; they catch a thin highlight where light wraps around a tiny radius. A perfectly sharp 90° edge in a render is a strong, if subtle, tell that nothing physical was ever machined that way.
Flat ceilings under-light a room's most visible large surface. A ceiling lit uniformly, with no falloff or variation, kills the sense of volume in a space — real ceilings pick up bounce light unevenly, brighter near windows and fixtures, dimmer in corners.
A single point light is the lighting equivalent of uniform roughness: technically present, but not how any real room is actually illuminated. Real spaces are lit by multiple overlapping sources at different intensities and color temperatures, and collapsing that to one light source flattens the space it's supposed to reveal.
Why area lights and warm practicals matter
A point light is a mathematical point — zero physical size — which means it casts razor-sharp shadow edges no real light source produces. Windows, fixtures, and lamps all have actual area, and that area is exactly what produces the soft, gradually-fading shadow edges a real space has. Modeling lights with real area, not as dimensionless points, is what makes shadows look inhabited rather than computed.
Warm practicals — lamps, sconces, and fixtures at a warmer color temperature than cool daylight — do a second job beyond illumination: they read as plausible light sources a viewer's eye recognizes, rather than an unexplained ambient glow with no visible origin.
Shadow softness, tone mapping, and white balance
Shadow edge softness is a direct function of light source size and distance — a large, close source produces soft-edged shadows; a small or distant one produces hard edges. Getting this wrong in either direction reads as artificial, just in different ways: too hard looks synthetic, too soft looks foggy.
Tone mapping is what compresses a scene's full dynamic range — which can vastly exceed what a screen can display — into something viewable without blowing out highlights or crushing shadows to pure black. White balance shifts the whole image's color temperature to correct for the light source's actual color, the same correction a camera makes automatically and a render has to make deliberately. Both are global corrections applied after the scene is otherwise correct, not fixes for bad materials or lighting underneath them.
When path tracing is worth the wait
Path tracing simulates how light actually bounces around a scene — off walls, through materials, back onto other surfaces — which is what produces physically accurate indirect lighting and soft, correct shadows. It's also slow, which is exactly why it's the wrong tool while you're still iterating on a layout or a material choice; a real-time preview is fast enough to judge whether a decision is right without paying path tracing's cost on every attempt. The tradeoff resolves itself naturally: preview while deciding, path-trace once there's nothing left to decide.
None of the fixes above work in isolation, either. Correct PBR channels under a single harsh point light still look artificial, and a well-lit scene with uniform-roughness materials still reads as flat — materials and lighting are independent failure modes with independent fixes, and both have to be right before a render stops looking synthetic.
Getting started
For where a realism pass fits into the broader build sequence, see the 3D model creation pipeline, floor plan to walkable tour. For how a finished, correctly-lit scene gets delivered as a walkable tour, see equirectangular panorama capture, explained. And for the layout and lighting choices that make a real hotel room camera-ready before any of this rendering work even starts, see how to design a hotel room that photographs well.
See how it works or request early access to see a realism pass applied to your own room.